Showing posts with label Witches Cauldron. Show all posts

Tuesday, 4 October 2011

Tuesday Spotlight

This girl we have in the Spotlight today is very much a Simply Sassy fan♥
I asked her to make a new Sassy project for the Spotlight and she sent me 5!!
And told me I could choose whom of them I wanted for the Spotlight..
Well how could I not choose all? Their gorgeous and so Sassy!
So prepare for a picture heavy spotlight and to be inspired by the gorgeous Sassy project 
Heike has made ♥

Look at this..isn't the most gorgeous Halloween decoration ever..
She has used Best Witches

*Start by telling us a little about you
 I am thirty years old and have been with my partner Ralf for 11 years now. We aren't married yet and we don’t have any children so far. But we do have 2 rabbits and 2 cats, so there is a lot of action around here anyway.
I work for a big IT company and am currently on my way to become a project manager. As I’ve never been the technical and science type, crafting is my way to balance myself and blow off all that creative steam I can’t use at work.

*When did you start card-making and what made you start?
I started card-making in January 2009. I actually never was much of a card-making fan, because I am not a huge fan of the 3D and decoupage style, which is still widely popular over here, but when I discovered some message boards and blogs where people shared their truly amazing works with stamps, I was hooked. Stamping really had everything I was missing with these other styles.
As for the reason why… probably because I like to make the things I give away myself. I have ever since I was a child. So I guess it was just a logical consequence that I would start making my own cards rather sooner than later. 

Gorgeous soft colors using Bad Hare day

*What is your preferred coloring medium?
Definitely Copic Sketch markers. I completed my collection in August and now have access to the full range of colors, which is absolutely amazing. (Though there are still colors that are missing from the range, can you believe that? LOL)
I also like to use my Prismacolor Pencils on Kraft Cardstock. 

Another beautiful Halloween decoration using Witches Cauldron

*What is your fave Simply Sassy stamp?
Now that question is just impossible to answer. I probably could name a favorite for each kit,
but out of all of them? Never.
But some of my favorites are: “Best Witches”, “Witches Cauldron”, “Winking Student”, “All Wrapped Up” and “Butterfly Girl”

*How did you notice the Simply Sassy stamps the first time?
It took me ages. I first discovered them when Kit 6 was released on a friend’s blog. But I was in love right away and have fallen harder and harder ever since. 

Beautiful Autumn card using Apple of my eye

*What is your favourite card-making style?
I guess it’s a quirky style. I like to add lots of embellishments like flowers, punched butterflies, flatback pearls, flourishes and the like.
I also love clean & simple, but I am very bad at this type of card, therefore I just admire others who are amazing at that style. :o) 

Beautiful romantic card using Hippie Love 

*And what would you love to see more of at the Simply Sassy blog?
I love the blog just as it is. Just one thing I’ve been missing for the last several weeks: the tutorials. I really hope they’ll be back soon, because they really were so inspiring and fabulous. :o) 

If that is not all.. I WILL have to show some of the gorgeous Simply Sassy creations from her blog too♥
Well it was hard choosing just a few as there are so many and just as gorgeous but do go visit Heike 
 for more Simply Sassy inspiration..


 Using Amelia

 Using Call me

Thank you so much Heike for the gorgeous Sassy projects you've made for us 
and for letting us Spotlight you ♥ 

Wednesday, 7 September 2011

Simply Spooky

Good morning Sassy fans.  I know that we have a bit of time before Halloween is upon us but it's never too early to get started on those spooky creations, right?


I decided to make a little treat bag using the beautiful Witches Cauldon.  I just adore this pretty little witch.  I've colored her with copics and colored pencils and added some Glamour Dust to the heart on her hat and the buttons on her dress.  I cut her out with my nestabilities and attached her to the front of the treat bag.  I think I will fill this little bag with yummy chocolates! 


I'm sure you've probably seen these little bags lots of times but I did include a template for it in case you would like to try one ... they're super easy!  You can use cardstock or even lighter weight dp.  I cut my cardstock to 8" x 11 3/4".  On the 11 3/4" side you will need to score the paper at 3/8", 4 3/8", 5 1/8", 5 7/8", 9 7/8", 10 5/8", and 11 3/8".  On the 8" side you will need to score at 6 1/2" and 7 1/4".  Following the picture below, score on the dotted lines and cut on the solid lines.  You will apply adhesive to the 3/8" pieces on each end in order to make the box shape.  You'll also apply adhesive to the bottom tab to close the bottom of the bag.  I apologize if my instructions aren't very clear but once you have the bag cut and scored, it's so simple to figure out.  The top piece measures 2 1/2" x 4" and I used a punch along the edge.  Then you just punch two holes through the topper and the bag and thread your ribbon through to the front and tie in a bow. 


Thank you for stopping by.  Please stop by later today as Paula will have a fabulous creation to share with you.

Hugs, Anita

Stamp:  Sugar Nellie Simply Sassy - Witches Cauldron (Funky Kits
Paper:  Doodlebug Design - Monster Mania
Other:  Copics, Caran d'Ache and Prismacolor pencils, gamsol, Glamour Dust, black glaze pen, MS doily lace punch, nestabilities, ribbon   

Friday, 6 May 2011

boil, boil....

Hello Simply Sassy friends!
It was "Walpurgisnacht" here in Germany last weekend - the night from the 30th of april to the 1st of may where all witches come together at a special mountain called "Brocken". I am sure there is a little witch in all of us and so I was inspired to make this card in its special cauldron shape.

The image I used is

Witches Cauldron

from the newest Simply Sassy collection.

I cut the cauldron shape by hand and made an easel card from it. The clouds were made using some vellum - I like how you are able to see the different layers and that "eye" that seems to be popping out of the cauldron. Well, the green stuff behind was meant to be some green smoke but honestly, I think it kind of looks like wrench.LOL

I stamped some swirls to the left side of the cauldron using an embossing pad and added a clear embossing powder with tiny sparkling pieces in it. And the perfectly matching sentence is by Studio G, stamped using a dusty durango stamp pad by Stampin´up.

I needed to add a place to write on since the card base is black - and so I used this label frame from Inkadinkado and added another sentiment from Studio G.

For the coloring I used these Copics:


So, here´s witching all of you a happy weekend!

Sunday, 1 May 2011

Simply Yummy ;D

Hi Sassy fans, can you believe another week has gone by and I'm back again?! No, me neither ;o), but the faster the weeks go, the faster summer gets here right :D! Anyway, I have a little yummy inspiration for you today, you won't believe how hard it was not to eat the chocolate bar before the box was finished and I took the picture...it was yummalicious! ;o)


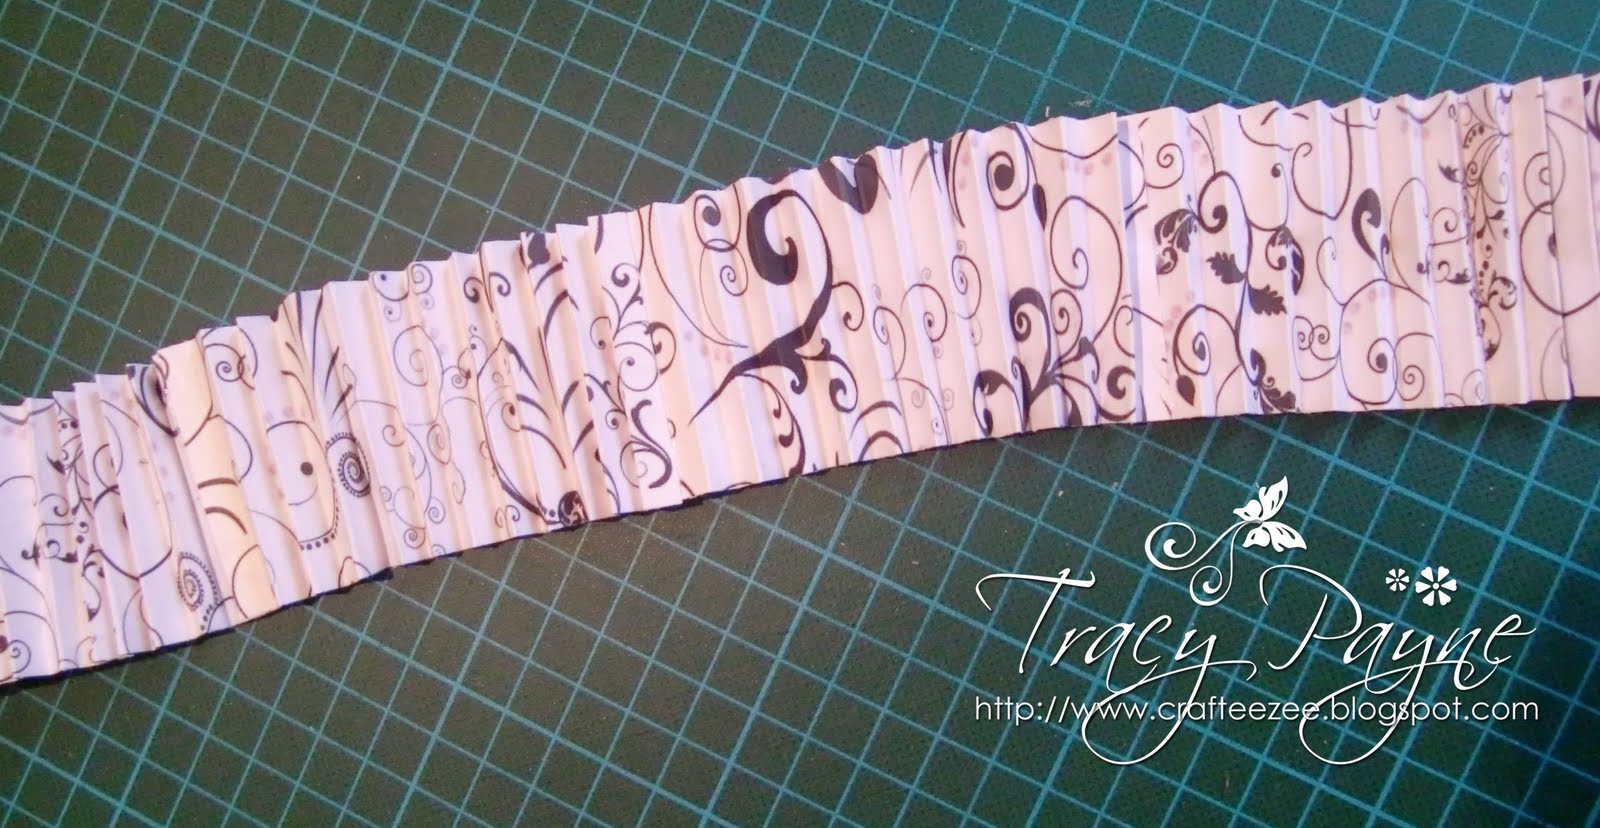
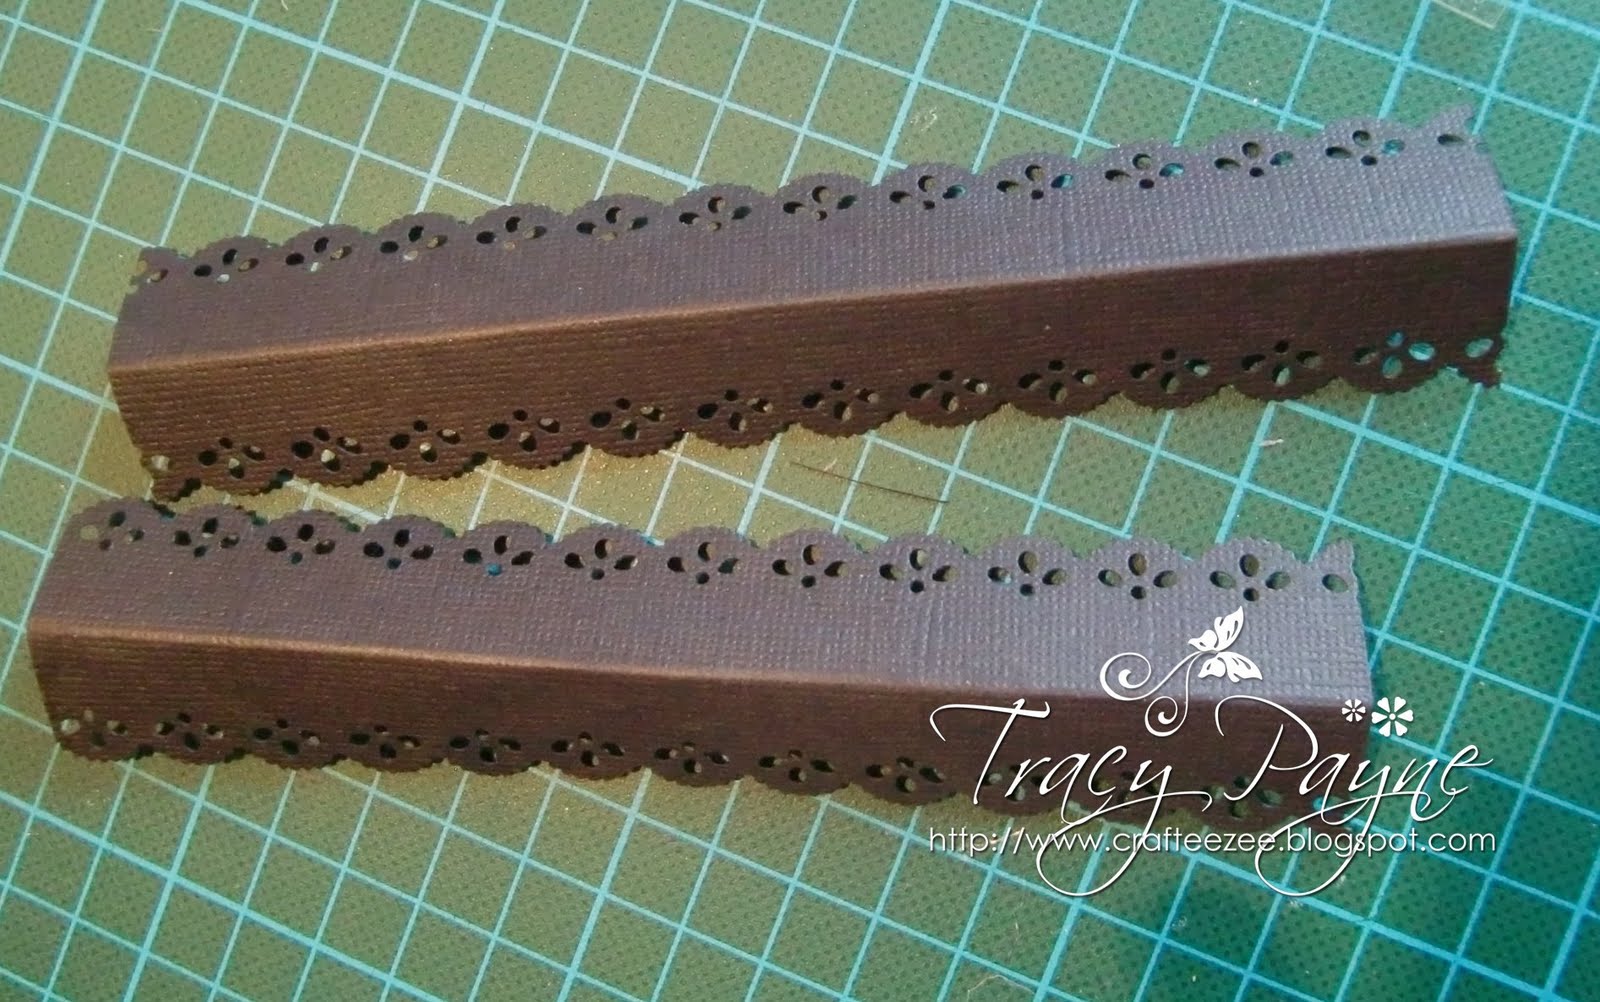
I made a little birthday box which can hold a small present and some chocolate, or a gift card and some chocolate, or...well, you get the idea, it's a chocolate box ;o)


The little cutie on the front is stirring a big pot of extra-special chocolate mix, which tastes soooo delicious you want to eat the whole lot!


Some space on the inside to write a message for the birthday girl :D. It felt weird to not use any flowers, but somehow they just didn't look right...maybe witches don't like flowers?

Materials I used:
Stamps: Simply Sassy stamp "Witches' Cauldron"; sentiments by Papertrey Ink
Paper: Bazzill Basics cardstock; Jillibean Soup design paper "Dutch Mustard Soup"
Embellishments: Papertrey Ink ribbon; Kars adhesive pearls; charm
Tools: Spellbinders Nestabilities Classic Ovals and Scalloped Ovals large
Copics: Sorry, I forgot to write down which ones I used...

That's all from me for now, don't forget to check back later today for Lou's very first post! Have a lovely Sunday, hope to see you all next week :D!
Also, don't forget about the challenge Maria has set you, you can still play along for the next five days! Details can be found under the 23 April posting on page two (sorry, I can't make a link, don't know why...)

Hugs,
Erica

Wednesday, 27 April 2011

Stirring up fun...

Hello Sassy Fans!! Autumn here with your first inspirations post of the day and today I have a little tag to share with you. Here is...


...'Witches Cauldron" available here at Funky Kits. So my friends daughter is really into this show called Monster High and I've tired to color this little witch similar to her favorite character. I've already made her a card, but I used a pretty image so i wanted the tag for her gift to be something fun. I made the sentiment on my computer( It's up on my personal blog   if you'd like it) and the flowers are WOC and that's pretty much it. It's pretty basic and still probably the most I've done to a tag,lol, I envy those of you who are really good at these! 


My copics, a pretty small list for a change since I used so much pink and black. Well, I guess that's it! Short and sweet for me today, hope you are all off to a good week. Thanks for stopping by and be sure to stop by later to see the awesomeness Anita has come up with for you! Have a great day!
xxAutumn

Thursday, 21 April 2011

Brewing a Sweet Treat!

Morning Sassy Fans,

Wow do I have a sweet treat for you today, and the best of it is it's calorie freeeeeeeeee! Whilst attending the craft show at Alexandra Palace recently with my sister and niece  we saw one of these cupcakes and my sister said, you could make one of these. Enough said, so for my tutorial today I thought I'd show you, and I might add this is the first time I have made one, lol, how to make the cupcake and what better image to add to the box than the Witch's Cauldron, available HERE, as she is making a special calorie free cupcake brew, lol.  We all need one of these.

Well, it's a long post so grab a cofee and off we go............ You will need some strong card, I used the back of a cereal box, normal cardstock, papers, glue, a polystyrene ball, and whatever you want to use to decorate it, ribbon, flowers, stickles, glamour dust, perfect pearls, and accetate if you want to make the box. It's really up to you.

This is what we are going to make:-


This is what you will need:-

Strong cardstock for your base (I used a cereal box)
Paper for the cupcake case, 2 x 12" strips
Ribbon x two colours x 1 metre each or thereabouts
I polystyrene ball
Glue 
Elastic Band
Scissors 
Accetate x 4 pieces 12.5 x 
Cardstock and Punchfor the box 
Decoration: flowers, perfect pearls, ribbon, lace, whatever you fancy
Your choice of image, mine is Witches Cauldron by Simply Sassy available HERE


First cut a 6 inch circle out of your strong cardstock (this is my cereal box).  Mark out a 2 inch circle in the middle and then mark out 16 even wedges.

Cut each wedge up to the outside of the 2 inch circle.

Place the ball inside the cupcake.  Put an elastic band around it and glue the flaps.  I used a hot glue gun but any glue will suffice, you'll just have to be patient and let it dry.

This is how it should look. Then glue your ball into the bottom of the cup.

If you are using 12 x 12 paper, cut two two inch strips.  I used digital paper printed 6 x 6, so I cut 4.  Then glue all the ends to together and make a circle.

It should look like this.

Cup around your cupcake base and glue at the top and at the bottom.

Cut out a circle big enough to cover the bottom and stick down.  I traced around my glue bottle.

Now onto the decoration.  You can ruffle your ribbon two ways.  Loosen the threads at the bottom and pick out a couple of threads from the middle section and pull.
Secondly, do a running stitch down the middle of the ribbon and when you get to the end pull the thread and ruffle the ribbon and secure.

This is your icing.  Now time to decorate.

A layer of lace and then white icing.

I airbrushed a few flowers to make them black.

Another layer of black icing.

I then added some liquid pearls, glamour dust and for the black cherry, I rolled up some airdray clay, painted it white with some acrylic paint and then airbrushed it black and add some more glamour dust as all cupcakes need a sprinkling of sparkly stuff don't they.


If you want to make a box, then read on.
You need to cut two squares of 7 x 7 cardstock and score 1 inch each side. Then cut out the triangles marked with the dashes.

Glue the edges to the inside of the box.

Once you have two completed.  You will need 4 sheets of accetate, 12.5 cm by 15.5cm


I cut 4 x 1.75  inch strips of cardstock and and punched both sides.  You will need a total of 4 x 15.5" in length pieces. I then scored them down the middle.

Glue the accetate pieces to the punched edges as shown below.

Then place inside the cardstock base and glue all the way round.

Pop the lid on and decorate as required. Note I didn't glue the lid down so that you can take the cupcake out and whilst it lives inside the box it remains dust free.

And it wouln't be complete without your image.  Here is the Simply Sassy Witches Cauldron.  Hasn't she done well brewing up her snazzy black and white cupcake.


Here's a picture of the lid.


Hope you've enjoyed the tutorial.