Tuesday, 26 April 2011

Tuesday Spotlight on..

The sweet lady I'm spotlighting today Is one I found though looking for Simply Sassy's and wow what beautiful cards she makes!
Spotlighting for you today 
Go visit her, her blog is so sweet and yellow and I always get in such a good mood going in there :)
Here cards are so lovely and Teresa made such a gorgeous Sassy card for us 

Teresa has used one of the new images from set 6 Butterflies & pigtails

Of course she also had to answer our Q&A

*Start by telling us a little about you:

I live in Essex in the UK, happily married to my lovely hubby Mark, with an 18 year old son, Robin. I work full time as a Project manager, so try and fit in my crafting around work, but life tends to get in the way. Fortunately, I have a very understanding husband who encourages me with all my crafting, but I do feel guilty if the housework gets neglected!

*When did you start card making and what made you start?

I’ve always been quite arty and crafty, ever since I was a little girl. I started making cards for family and friends about 4 or 5 years ago after seeing craft demos on a famous shopping channel. I bought a kit of papers and embellishments and haven’t looked back since! I used to just use my own drawings back then and not many embellishments. I still have a few of the cards, but they do look a bit sparse now!

*What is your preferred coloring medium?

It has to be copics on my cards and I am forever experimenting and trying new things with them. I love the way they blend perfectly and you can introduce depth and highlights. I would also like to use more watercolours and pencils on my cards where I can, as that is what I used before I discovered lovely copics.


*What is your fav Simply Sassy stamp?

It is so difficult to choose a fave…but if I had to, I do like “Hippy Chick” a lot. There is so much you can do with her and I think she could look so very different every time you colour her, I must colour her again soon!

*How did you notice the Simply Sassy stamps the first time?

I saw them on other people’s blogs, then on the Funky Kits site.I love their quirkiness and uniqueness. I don’t think there is anything quite like them for their style.

*What is your favourite style (card making)?

I don’t think I have found it yet as I think it’s constantly changing. I wish I could stick to one style but I just can’t! I like to do distressing/vintage, but also bright and cheerful and then ‘Clean and simple’ - actually no, I can’t do ‘Clean and Simple’ very well at all! I always have to fiddle and add embellishments. I am a bit of a perfectionist too and a card can take me a long time, probably too long!

*And what would you love to see more of at the Simply Sassy blog?

I love the Simply Sassy blog just as it is and it’s one of the blogs that I visit all the time. I really like the way it constantly showcases other’s cards and shows new techniques.

 Teresa has some lovely cards over at her blog and here are some of her sweet Sassy cards
Using Bad Hare day

Using Windswept

Using Fabulous darling

Thank you so much Teresa for letting us spotlight you and your gorgeous cards.
I know Teresa would love your sweet comments.

Monday, 25 April 2011

Lessons Learned

Morning Peeps,

I know on my very first post  here I mentioned that I like to do different styles, and I'm sure by now you will agree with me.  Well today's card is another style.  I've been wanting to play around with distress inks for sometime so I bought some small brushes and started to have a play and learnt some lessons along the way. One of the  main differences I found with using distress inks against copics is that its difficult to create the creases in the clothes like you can with copics.  However I do still love both mediums.

This super Sassy Girl is called, "Rapunzel", and she started off being lilac and turquoise blue but I added some vintage photo to the edges of her tights forgetting that I was meant to go and work on another part of the image allowing the tights to dry first, so after adding the vintage photo they kind of blended and I ended up with green tights, lol. Good job I like lilac and green.

After completing her I decided to cut her out in an oval shape using my nesties and I placed some post it notes over the nestie and image to keep the nestie in place.  Don't know about you but I have had countless times of the nestie not cutting where I wanted it too on my bigshot and on the Grand Calibur.  Only I had a shim on it for embossing and I forgot to remove it, so my image ended up with the post it notes being embossed onto the image.  So in short these are my lessons learnt:-

1. Don't try out a new tecnique for a DT card when you don't have enough time to do another in case it goes wrong... Oops!
1. Wait for the area to dry before applying a new colour
2. Don't leave the shim in the bigshot

I followed the sketch over at The Sugar Bowl and here's how it ended up.


Don't look too closely, lol.


Ingredients:-

Image is "Rapunzel" available from Funky Kits HERE
Check paper is available from Nitwits
Martha Stewart Punch
Flowers are from Bizzy Becs
Magnolia Doohickey Die
Laserchip Corner and Butterfly painted with acrylic paint available from Make It Crafty
Cuttlebug Embossing Foler
Bazill Cardstock & Pearls from stash

Sunday, 24 April 2011

Simply Too Cute!

Hi Sassy fans, Happy Easter to you all!!! Hope you're enjoying a lovely Sunday with the same gorgeous weather we've been having over here, it's just bliss isn't it :D! Nice of you to stop by for a little Sunday inspiration, I know it's too hot to craft but a little inspiration is always good isn't it, you can store it away for later...when it's raining...again...;o)

For my post today I have used the super-adorable, totally sweet and simply too cute Butterflies & Pigtails stamp from set number six. Now, I know she doesn't actually have any butterflies in a jar on my card, but that's because I was going in a whole other direction with this and then when I realised it wasn't going to work the image was already coloured in so...that's life (or crafting, really ;o))


Materials I used:
Stamps:
Simply Sassy "Butterflies & Pigtails" stamp; Lili of the Valley sentiment
Paper: Bazzill Basics brown, white; Kaisercraft "Chanteuse"
Embellishments: Zva Creative pearl swirls; Kars adhesive pearls
Tools: EK Success Retro Flower punches; Kars butterfly punches; Spellbinders Nestabilities classic circles large and scalloped circles large
Copics:
E00, E51, E93, E21 (skin, cheeks)
Y28, E53, E50 (hair)
R85, R83, R81 (dress, socks, shoes, bows)
YG63 (eyes, legwarmers)
T0, T2 (apron)


That's all from me today, I'll be back on Thursday with a tutorial and of course Tracy will be here tomorrow with some more Sassy inspiration! Have a lovely Easter everybody, don't eat too many eggs ;o)!

Hugs,
The Easter Bunny

Saturday, 23 April 2011

You asked for it..

You wanted a challenge and now I'll give one to you..
You won't win anything you get in your mail box but you will get Pride and glory here at the Simply Sassy blog.
I want pretty Sassy girls for the header..
Yes my amazing Sassy dt makes amazing cards but I want to give you a chance to show your stuff too.
What you will need to do??
Make a card with a Simply Sassy image on, 
you can not cut around the image as I want the white background behind.
Do your best coloring and I'd prefer cold colors on the Sassy's clothes/hair accessories. 
As it is to match with this girl Elaine has colored 
What you will get?
a place for the image YOU colored on our header..for 2 months!!! 
along with the image  Elaine has colored.
I will pick TWO winners and you will also get your whole card in our sidebar for the same period linking to your blog post and telling our reader that the image from the header is colored by YOU...
So would you want your coloring to be the first people see when they come in here,
 make a card and enter the challenge. I know we have a lot of very talented readers ;)
Any questions just ask with a comment here and I will leave a comment with the answer as soon as I can. 
Remember if you wonder about something someone else is probably wondering about the same

Maria
If the linking tool is playing nasty as it has please leave your link/s with a comment ;) 


OH La La ~ tag


The best part about making a card is for me to color the Image.
I use my Copic markers and sometimes add some extra shadow with prisma pencils.
Sometimes I even sit down just to color with no specific card or  paper in mind.
Last summer we were on a car trip for almost two weeks and I wanted to bring something to do for the evenings after the kids we're a sleep. 2 weeks without crafty stuff.. not think so, wile with two kids in the back and one of them needing a stroller I couldn't pack lost of stuff, so I brought my markers and a box full of stamped images..
Not all we're used for cards afterwards but I had lots of fun coloring them!

What I wanted to say with that story was that if you have images colored and don't have much time to make a card a Tag is a sweet thing to put with a gift . Confirmation time is also around the corner here in Norway at least.
And if you have lots of cards to make and little time, how about making tags and make a little pocket for the money behind the tag. If your friendly with your sewing machine (which I'm not it always clogs up the thread on my paper) you can sew around the pocket for a nice touch..

So remember for your next long trip or even a weekend cabin trip, stamp up some images and bring whatever you use for coloring..

For this tag I've used OH La La ,Pion paper,seem binding and the thank you note is printed from my computer using Junko's Typewriter 

And I also want to tell you that both Carissa and Lou will start posting next week. 
We are not saying goodbye to Anita just yet as she have a few weeks yet :) 
But I like to give the Guests the option to start before they get their first stamps as we all are Simply Sassy fans and they have Sassy stamps, the more the merrier and we get more inspiration for you guy's!! 

Have a sweet Easter for those of you celebrating and a relaxing bank Holiday for those not celebrating or just a lovely weekend if you don't have time off from work :) Ta daaa be back before you know it!!

Friday, 22 April 2011

carnival balloon


Happy friday to all of you! It´s a holiday today - for sure not only here in Germany - but that doesn´t mean we are having a break from inspiring you...

My twins will turn 10 next tuesday and of course they asked for a birthday card. I let one pick the image for her sister´s card - and Natascha wanted me to use

Carnival Balloon

for Pia´s card.

She´s just perfect for that age - designed in this wonderful and kid´s friendly style but yet sassy and not too much for those "babies" as my girls would call them now that they are going to
be 10. LOL And with this big balloon birthdays were the first occassions I thought of when I saw this image.

I tried to match my coloring the look of my girls. Pia has brown hair and blue eyes and so this is what this cute little Sassy Girl needed to be colored. I used these markers:


image: Sugar Nellie, available at Funkykits only
paper: K&Company, Magnolia, others that I don´t remember anymore
garland and round sentiment: Whimsy Stamps
flourish die: Quickutz

I am wishing all of you a wonderful easter holiday with lots of colored eggs and chocolats!


Thursday, 21 April 2011

Brewing a Sweet Treat!

Morning Sassy Fans,

Wow do I have a sweet treat for you today, and the best of it is it's calorie freeeeeeeeee! Whilst attending the craft show at Alexandra Palace recently with my sister and niece  we saw one of these cupcakes and my sister said, you could make one of these. Enough said, so for my tutorial today I thought I'd show you, and I might add this is the first time I have made one, lol, how to make the cupcake and what better image to add to the box than the Witch's Cauldron, available HERE, as she is making a special calorie free cupcake brew, lol.  We all need one of these.

Well, it's a long post so grab a cofee and off we go............ You will need some strong card, I used the back of a cereal box, normal cardstock, papers, glue, a polystyrene ball, and whatever you want to use to decorate it, ribbon, flowers, stickles, glamour dust, perfect pearls, and accetate if you want to make the box. It's really up to you.

This is what we are going to make:-


This is what you will need:-

Strong cardstock for your base (I used a cereal box)
Paper for the cupcake case, 2 x 12" strips
Ribbon x two colours x 1 metre each or thereabouts
I polystyrene ball
Glue 
Elastic Band
Scissors 
Accetate x 4 pieces 12.5 x 
Cardstock and Punchfor the box 
Decoration: flowers, perfect pearls, ribbon, lace, whatever you fancy
Your choice of image, mine is Witches Cauldron by Simply Sassy available HERE


First cut a 6 inch circle out of your strong cardstock (this is my cereal box).  Mark out a 2 inch circle in the middle and then mark out 16 even wedges.

Cut each wedge up to the outside of the 2 inch circle.

Place the ball inside the cupcake.  Put an elastic band around it and glue the flaps.  I used a hot glue gun but any glue will suffice, you'll just have to be patient and let it dry.

This is how it should look. Then glue your ball into the bottom of the cup.

If you are using 12 x 12 paper, cut two two inch strips.  I used digital paper printed 6 x 6, so I cut 4.  Then glue all the ends to together and make a circle.

It should look like this.

Cup around your cupcake base and glue at the top and at the bottom.

Cut out a circle big enough to cover the bottom and stick down.  I traced around my glue bottle.

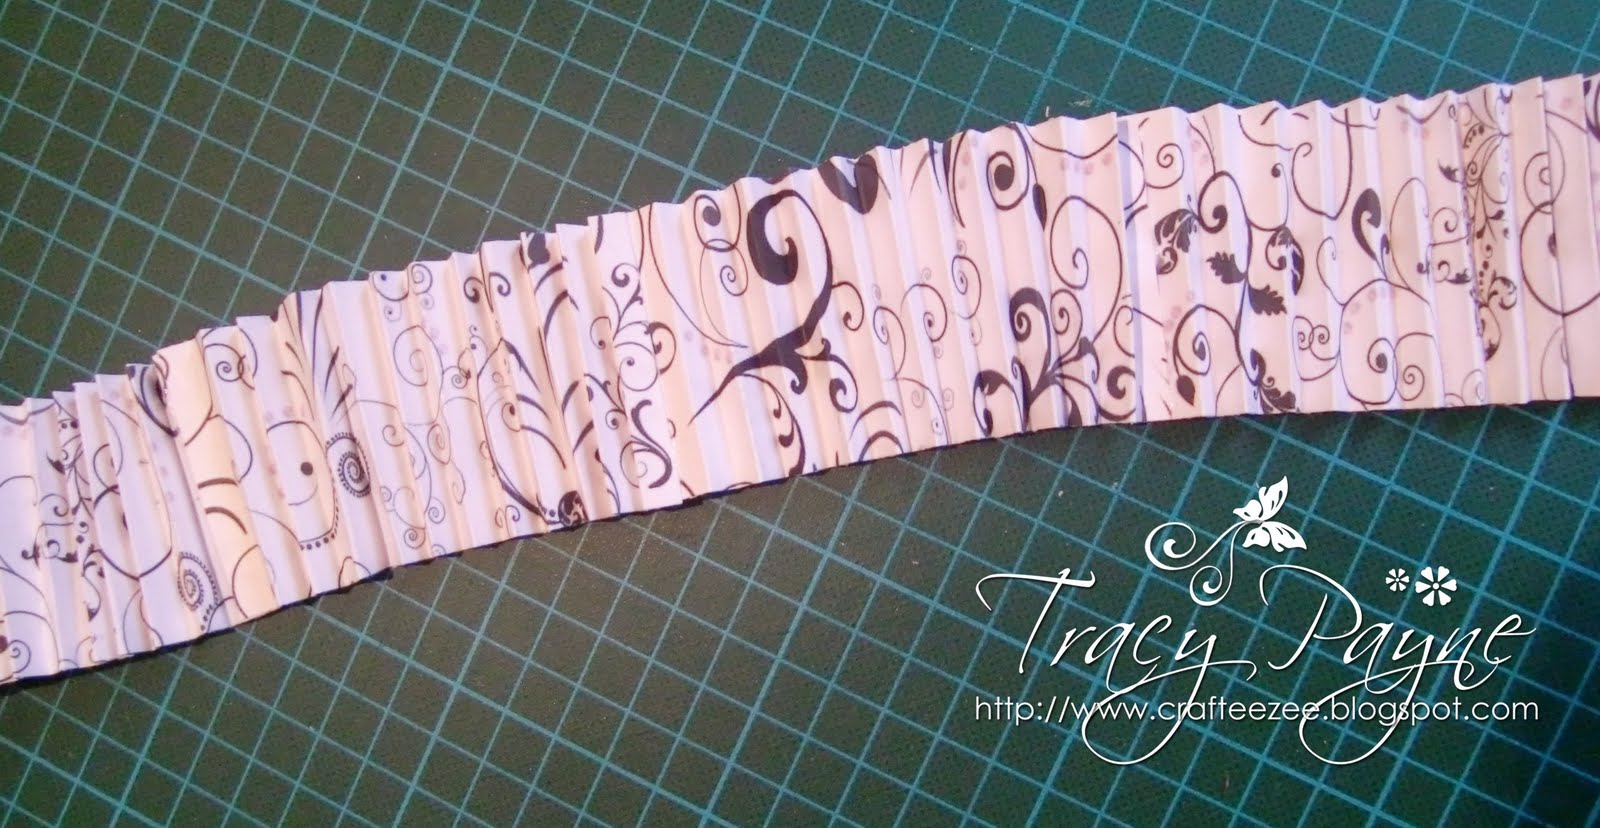
Now onto the decoration.  You can ruffle your ribbon two ways.  Loosen the threads at the bottom and pick out a couple of threads from the middle section and pull.
Secondly, do a running stitch down the middle of the ribbon and when you get to the end pull the thread and ruffle the ribbon and secure.

This is your icing.  Now time to decorate.

A layer of lace and then white icing.

I airbrushed a few flowers to make them black.

Another layer of black icing.

I then added some liquid pearls, glamour dust and for the black cherry, I rolled up some airdray clay, painted it white with some acrylic paint and then airbrushed it black and add some more glamour dust as all cupcakes need a sprinkling of sparkly stuff don't they.


If you want to make a box, then read on.
You need to cut two squares of 7 x 7 cardstock and score 1 inch each side. Then cut out the triangles marked with the dashes.

Glue the edges to the inside of the box.

Once you have two completed.  You will need 4 sheets of accetate, 12.5 cm by 15.5cm


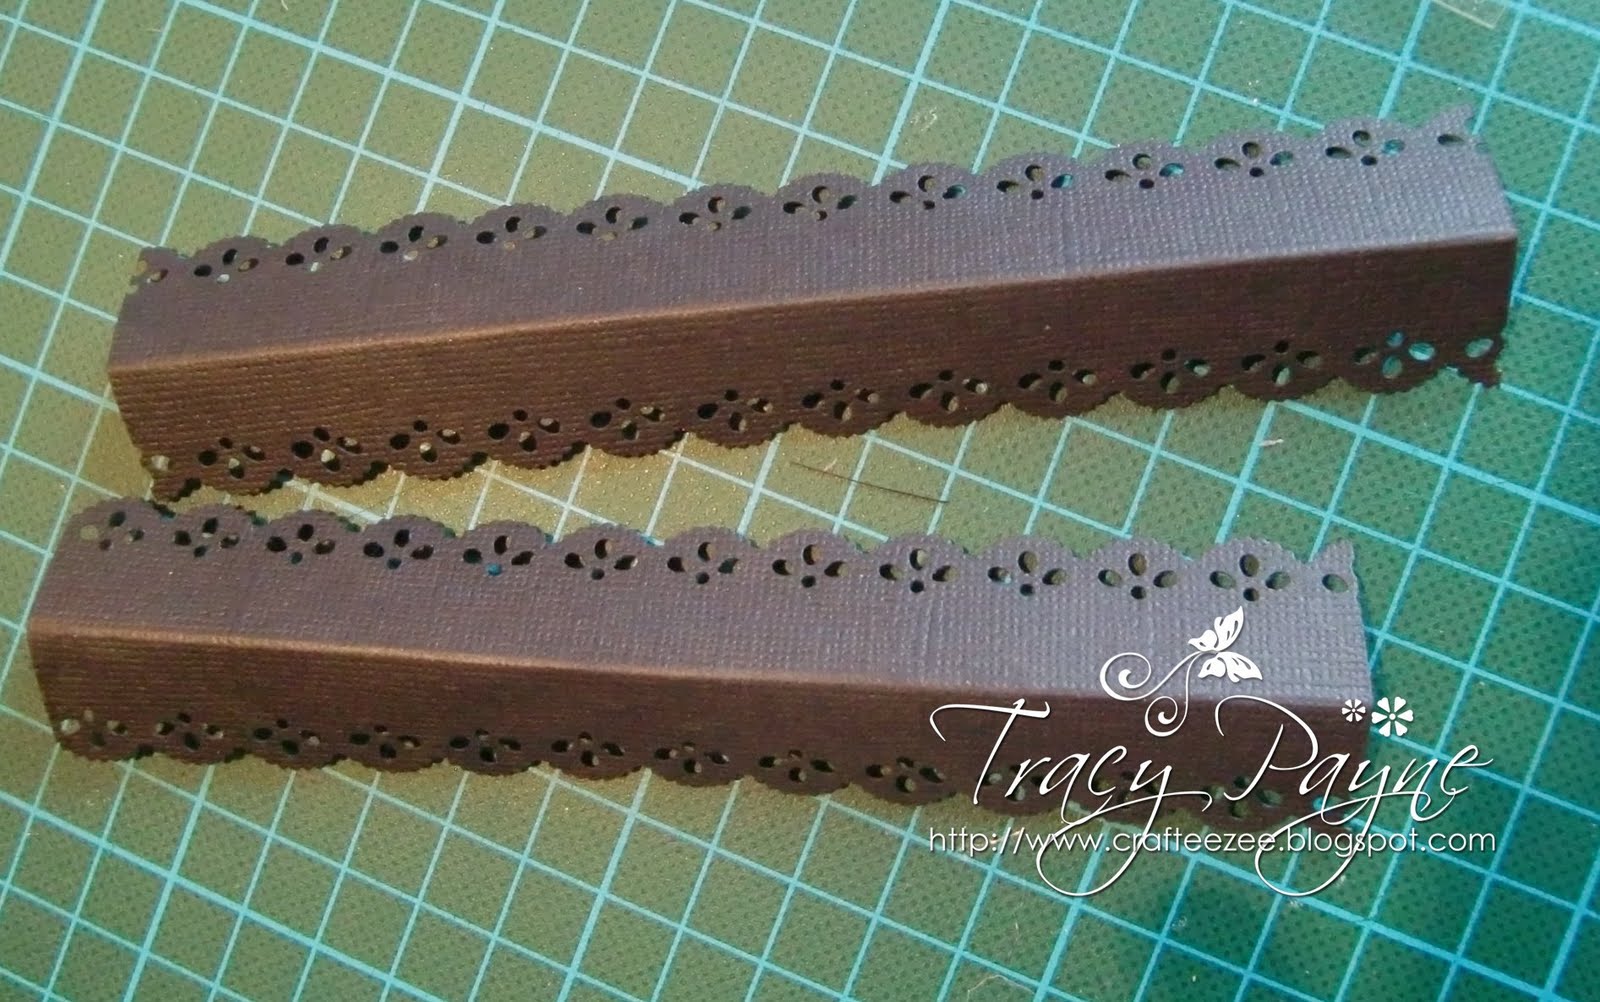
I cut 4 x 1.75  inch strips of cardstock and and punched both sides.  You will need a total of 4 x 15.5" in length pieces. I then scored them down the middle.

Glue the accetate pieces to the punched edges as shown below.

Then place inside the cardstock base and glue all the way round.

Pop the lid on and decorate as required. Note I didn't glue the lid down so that you can take the cupcake out and whilst it lives inside the box it remains dust free.

And it wouln't be complete without your image.  Here is the Simply Sassy Witches Cauldron.  Hasn't she done well brewing up her snazzy black and white cupcake.


Here's a picture of the lid.


Hope you've enjoyed the tutorial.