Hey Sassy fans! Autumn here with your Thursday Tutorial. A lot of you seemed to like the dark skin coloring I've done, so I decided I would start off my tutorial days with that. Please bear with me as this is my very first tutorial ever and I may have taken too many pics, lol. I'm gonna try not to talk too much and let you get thru this. So, here we go...
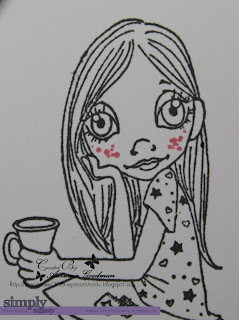
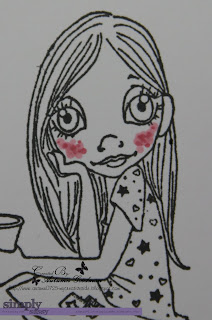
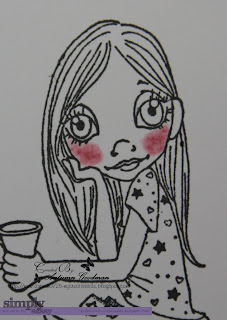
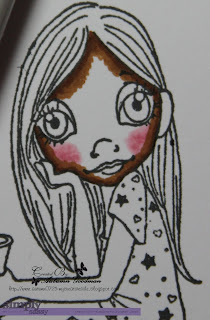
First, when I do brown skin I've found it's usually best to do the cheeks first as doing them afterward can cause some terrible bleeding...this may not be tru with all papers, but it is with the ones I've used. The paper I used here is Copic X-press It.
The colors I've used for her cheeks here are:
R85,83,81
I always start with the darkest and go to lightest. I've found it best to do little splotches of the colors as I think in the end they look a little more realistic. I know they look dark, but remember you are putting dark ink on top of them.
Next:
Start adding browns
Start adding browns
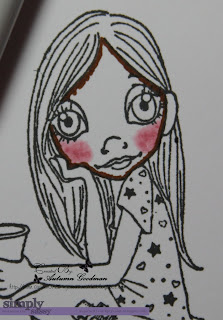
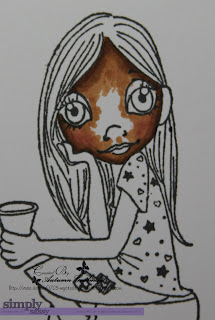
A I begin with the darkest color first. Also, you should make sure the lines are kind of fuzzy and I think it's best to work one section at a time as it gets harder to blend the more dry they get.
Colors are:
E37,35,33,31
( The pics above go thru the first 3)
( The pics above go thru the first 3)
Here we start with E31...make sure you are going over all your previous coloring as these browns have a reddish tint to them and E31 helps to mute that. When it comes to this poing you'll have to blend with E31 and E33 til you get your desired color.
I find that darker colors fill up the card faster and you can't blend as much, so make sure your paying attention and if it starts to get glossy you're going to want to stop.
The last pic in this set is showing the dark shadows I made using E59...u can do or skip this part depending on your taste.
I've found everyone has there own style when it comes to hair, so I haven't taken pic of that. However, this...

...is what she looks like when finished aand I'll tell you the colors I used for her hair are:
E49,47,57
You can use these colors or pick other ones, then finish coloring her as you wish.
That's all for my tutorial, I hope you can understand it ok. If you have any further questions please feel free to ask. I will show you a card made with her another time as I think we've had enough pics for today :) Hope you are having a fabulous day!


Fab tutorial, will definately be having a try of this later this afternoon.
ReplyDeleteCaz
x
She looks really beautiful!!
ReplyDeleteThanks for sharing your great colouring 'dark brown skin' tutorial!
Welmoed
Thank you for your tutorial, it is always incredibly helpful having something like this! Pami x
ReplyDeleteThank you so much! I am trying to learn how to use stamps and color them.
ReplyDeleteFab tutorial, thank you for sharing. I feel a little more confidebt donig darker skins now. xx
ReplyDeleteGorgeous! Great tutorial...I have never tried dark skin before...will definately give it a go!
ReplyDeleteThanks for sharing that Autumn. I have always shyed away from dark skin but will certainly be having a go now !!
ReplyDeleteHugs, sandra xx
THANK YOU so much for this tutorial. I keep trying to find non-video tutorials for dark skin. I don't do well with video tutorials, for whatever reason. Thanks so much for posting this. Now I want to try it right this minute, but I'm at work (shhhhh....)
ReplyDeletefab tutorial....I do struggle with colouring darker skin tones...so thank you for your help. Hugs Juls
ReplyDeletegorgeous! i love the skin combo you used. i'm def going to give it a try. i think your tutorial is GREAT!
ReplyDeleteFab tutorial Autumn - go you!
ReplyDeletewill have to translate that into promarkers now :)
Debz
x
Brilliant Autumn - thanks for the tip about the glossiness - oh I have struggled with that & have left the Copics alone for a while as I got stuck in rut & just kept oversaturating. I love the colours you have used for her & she looks so utterly real. Look forward to seeing your card too - I love that you've given us such a different tutorial - thank you.
ReplyDeletePaula (PEP)